IBM Storage replace Disk

If you replace a disk in an IBM Storage, such as a DS4700 and the disk is not rebuilding and is instead a new disk. You can set the disk as a replacement disk with the following command:

replace drive [85,12] replacementDrive=85,12;


To put the hot spare which was in use back to a hot spare, use the following command:

set drive [0,1] hotSpare=TRUE


This can be done in the Main storage manager view. Highlight the system, right mouse click and choose “Execute Script …”. Put in the commands and select “Tools” –> “Verify and Execute”.

Your initial lun will rebuild and your hot spare will fall back to the hot spare.


Adding a EXP810 to an existing DS4700

More information: ftp://ftp.software.ibm.com/systems/support/system_x_pdf/59y7287.pdf

Connecting storage expansion enclosures at the end (bottom) of a drive loop 

To add a 16-drive expansion enclosure, for example, an EXP810 or EXP420 to the DS4000 subsystem configuration, you basically follow the same procedure as in adding the 14-drive enclosure to a DS4000 subsystem configuration; however, the port connections on the 16-drive enclosure are different, as illustrated in Figure 4and the three steps that follow it.

1. Insert the small form-factor pluggables (SFPs) or gigabit interface converters (GBICs) into only those ports that you intend to use. Do not leave GBICs or SFPs inserted into port connectors without connecting them to other ports using cables.
2. Extend one of the drive loops (that is, drive loop A) in a DS4000 storage subsystem redundant drive loop pair by connecting the OUT port of the last storage expansion enclosure to the IN port of the storage expansion enclosure as shown in Figure 1Note: The port name on an EXP810 is not labeled IN. See Figure 4 for details.

Attention: Carefully reconfigure only one drive loop at a time, making sure that the drive loop that you modify is correctly connected and in Optimal state before you attempt to reconfigure another drive loop. Take this precaution to prevent the arrays from being inadvertently failed by the DS4000 storage subsystem controllers, which happens when two or more drives in the arrays cannot be reached through either drive loop in the redundant drive loop pair.

3. Power on the added storage expansion enclosure unit.
4. Wait a few seconds; verify that the port bypass LEDs of all of the ports in drive loop A, now extended to the storage expansion enclosure, are not lit. Using the DS Storage Manager Client Subsystem Management window, verify that the storage expansion enclosure is added and displayed in the Logical/Physical view of the window.Correct any errors before you proceed to step 5. For port bypass, complete the following steps:

  1. Make sure that the SFPs and GBICs or fiber cables are in good condition.
  2. Remove and reinsert SFPs, GBICs, and fiber cables.
  3. Make sure the drive expansion enclosure speed switch is set to the same speed as the existing drive expansion enclosures and the DS4000 storage subsystem speed setting.
  4. Make sure that the ESM is functioning correctly by removing and swapping it with the other ESM in the same drive expansion enclosure. For enclosure ID conflict, set the drive expansion enclosure ID switch to values that are unique from the current settings in the existing drive expansion enclosures and storage server.


Call IBM support for assistance, if the problem remains.

5. In the other drive loop (drive loop B) in a DS4000 storage subsystem redundant drive loop pair, remove the connection from the storage subsystem drive loop port to the OUT port of the last storage expansion enclosure and connect it to the OUT port of the drive enclosure as shown in Figure 2.Note: The port name on an EXP810 is not labeled OUT. See Figure 4 for details.
6. Wait a few seconds; verify that the port bypass LEDs of the two ports in the connection between the storage subsystem drive loop port and the OUT port of the drive enclosure are not lit. Using the DS Storage Manager Client Subsystem Management window, verify that the drive enclosure does not indicate the Drive enclosure lost redundancy path error. See step 4 for possible corrective actions, as needed.Note: The existing storage expansion enclosures are shown with “Drive enclosure lost redundancy” path errors until you establish the Fibre Channel cabling connection that is described in step 7.
7. In drive loop B, cable the drive enclosure IN port to the OUT port of the last enclosure in the already functioning storage expansion enclosure drive loop, as shown in Figure 3.
8. Wait a few seconds; verify that the port bypass LEDs of all of the ports in drive loop B to which you have added a connection are not lit. Using the DS Storage Manager Client Subsystem Management window, verify that all of the drive enclosures in the DS4000 redundant drive loop pair to which the enclosure was added do not report the “Drive enclosure lost redundancy” path error.


Figure 1: Cabling a single drive enclosure to the end of a functioning drive loop (step 1 of 3)

Figure 2: Cabling a single drive enclosure to the end of a functioning drive loop (step 2 of 3)


Figure 3: Cabling a single drive enclosure to the end of a functioning drive loop (step 3 of 3)


Figure 4: Cabling an EXP810 to the end of a functioning drive loop

How to Install IBM DS4000 (FastT) Storage Manager Client on Windows

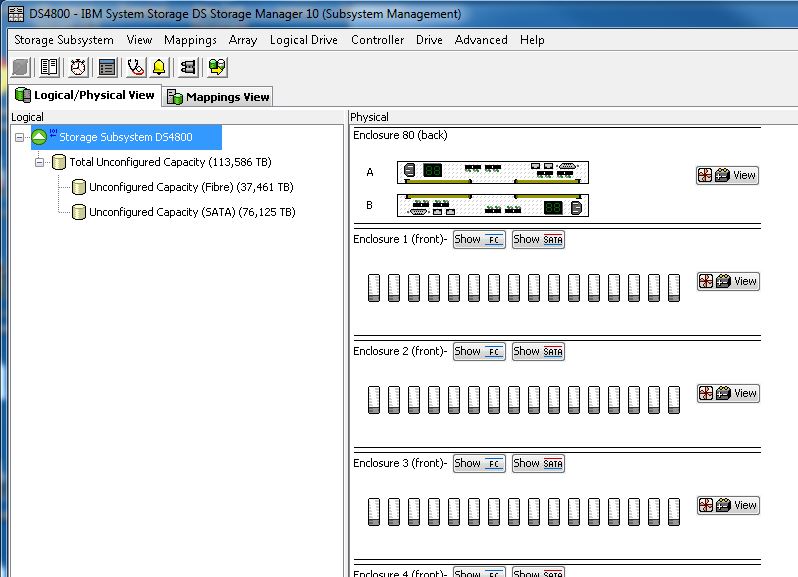
The IBM Storage Manager Client allows you to control and manage your DS4800, DS4700, DS4300 disk systems.  This guide describes how to install on a Windows machine.

How to Install or Upgrade Storage Manager Client

1) Download the software.

For Windows XP, 2000, 2003, or 2008, on a 32-bit platform, click here.
For Windows Vista , 2003, 2008, on a 64-bit platform, click here
For Windows Vista 32-bit, click here.

If these links don’t work for you, try navigating IBM’s site:

www.ibm.com > support & downloads > fixes, updates, and drivers
Category > (under SYSTEMS) system storage
Product Family > disk systems, Product > DS4800 or whichever DS4000
Select Operating System and Click GO
Click Downloads on the Support and Downloads box.

2) Unzip your download. Keep a copy of these install files around.  The scripts folder will likely come in handy.

3) Run your installation executable file.  In my case it’s SMIA-WS32-10.10.35.06.exe.

4) Select your language, agree to IBM’s legal stuff.

5) Select your Installation type.  To select the right type, answer this question.  What computer are you installing Storage Manager on?

If it’s the server connecting to your DS4000 disks, select Full Installation.
If it’s just a desktop workstation or a laptop, select Management Station.

6) Select Do not Automatically Start the Monitor

You should designate one machine, preferably a server that’s always running and connected to the disks by fibre channel, to act as the monitor.  For me, that’s our AIX machine.

7) Review the disk space requirements and click Install.

Reset DS4700 password

Log on to controller A with a serial or telnet connection (close the Storage manager client)

Log on with the following credentials:

User=  shellUsr
Password= wy3oo&w4

Type in the following commands:

loadDebug
isp clearSYMbolPassword
“Unld ffs:Debug”

The password should be set to the default (infinity), a reset of the controllers is not necessary.

Tested on firmware 07.15.07.00